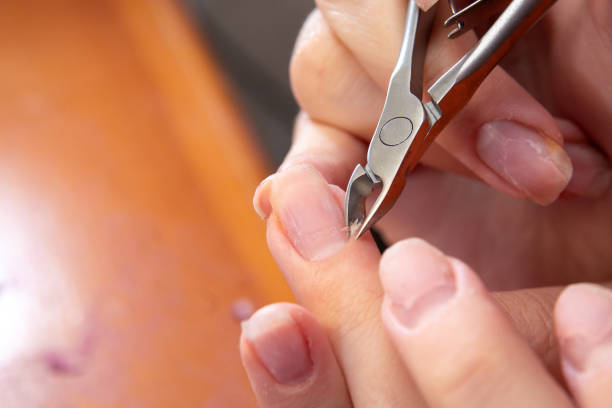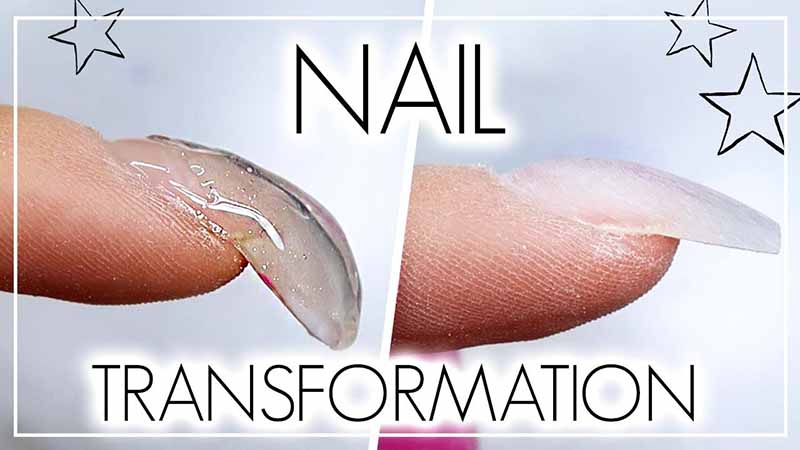
Hooked nails—sometimes called curved or “ski-jump” nails—are nails that curve downward at the free edge instead of growing straight out. The curve can be mild or pronounced. It can affect one nail or all of them. In some people, it is a natural growth pattern. In others, it develops from old trauma, improper filing, or an enhancement that was built with the wrong structure.
A hooked nail is not just a cosmetic issue. It can make polish wear unevenly, cause the tip to catch on things, and make extensions look unbalanced. During a fill or rebalance appointment, a nail technician can gradually correct the shape without forcing the natural nail into an unnatural position. The key is patience, proper structure, and the right products.
How to Identify Hooked Nails
Look at the nail from the side. A normal nail extends fairly straight from the nail bed, with a gentle natural curve. A hooked nail curves downward at the free edge, sometimes sharply. From above, the nail may look narrow or pinched. From the side, the tip points toward the palm rather than continuing the line of the finger.
Hooked nails can be natural or caused by enhancement structure. If the natural nail curves down but the enhancement follows that curve, the issue is the natural growth pattern. If the enhancement itself curves down while the natural nail underneath is straighter, the issue is the product structure—usually a missing or misplaced apex, or too much product at the free edge.
Before correcting, the technician should check the nail bed, the sidewalls, and the natural growth direction. If the nail is infected, painful, or severely damaged, do not correct it. Refer the client to a doctor.
When to Consider Correction During a Fill
Correction should be done during a fill or rebalance, not on a brand-new set, unless the hook is severe and causing problems. The natural nail needs to have grown out enough to show the true direction of growth. If the client has just had a set applied and the hook is caused by product structure, it can be corrected at the next fill.
Correct when:
- The hook is causing the tip to catch or break.
- The enhancement looks unbalanced from the side.
- The client wants a straighter shape.
- The natural nail has grown out enough to assess the true curve.
- The nail is healthy and free of infection.
Do not try to fully straighten a naturally hooked nail in one appointment. The correction should be gradual. Forcing the nail flat can put stress on the nail bed, cause lifting, and damage the natural nail.
Step-by-Step Correction of Hooked Nails
Step 1: Assess and document. Look at the nail from the side, front, and top. Note the direction of the natural nail and the direction of the enhancement. Take a photo if helpful. Explain to the client that correction will be gradual.
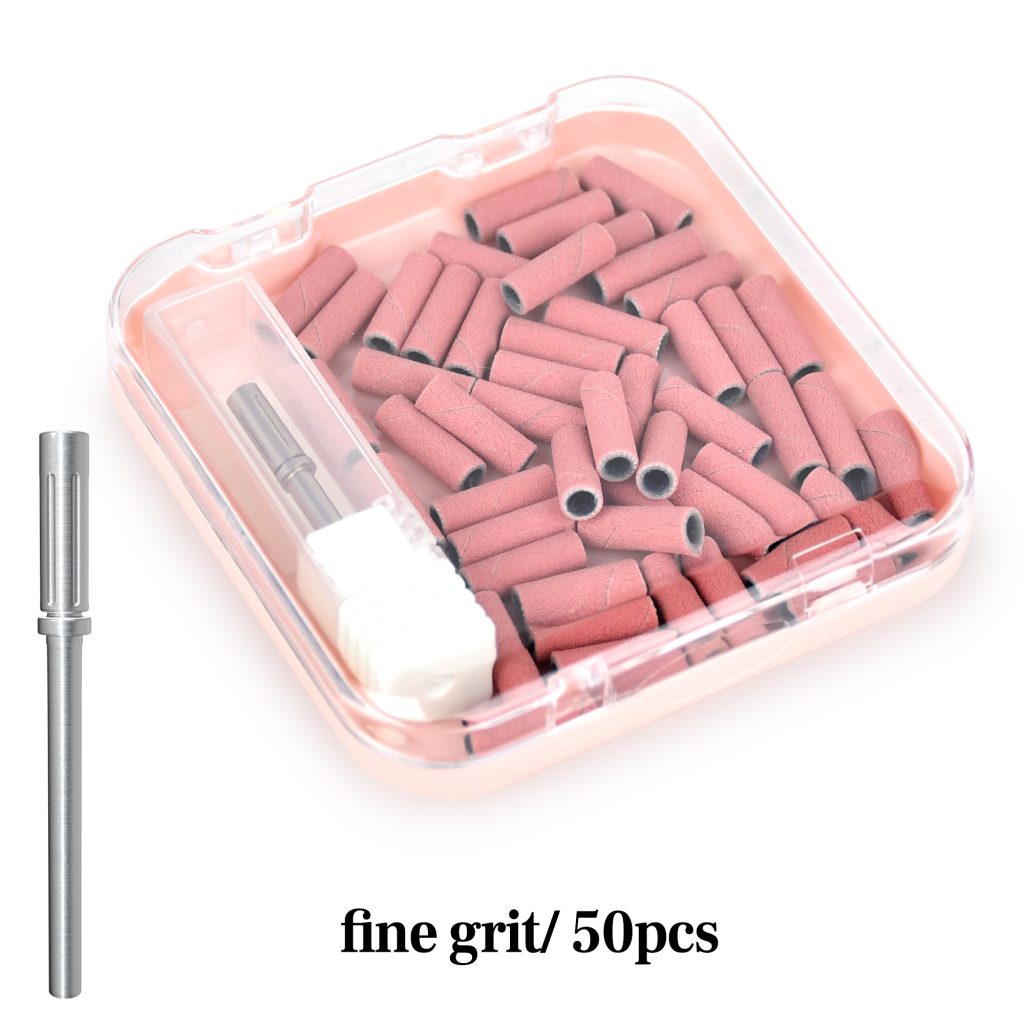
Step 2: Remove old product carefully. Use a sanding band to file down the existing enhancement. Do not over-file the natural nail. Stop at a thin layer of base product. If the product is soak-off, you may soak off the remaining layer. If it is hard gel or acrylic, file gently until flush.
Step 3: Prepare the natural nail. Push back cuticles, lightly buff the nail plate, remove dust, and dehydrate. Apply primer if needed. Do not touch the nail plate after dehydrating.
Step 4: Choose the right form. Use a nail form that supports a straighter extension. Place the form under the free edge and align it so the new extension follows the desired line—not the downward hook. The form should be positioned slightly higher than the natural hook to encourage a straighter growth direction. Do not force the form to bend the natural nail.
Step 5: Build the apex in the correct position. The apex is the thickest point of the enhancement. For a hooked nail, the apex should be placed slightly forward of the center to counteract the downward pull. Build the structure in thin layers. Do not build a thick tip; that will make the hook worse.
Step 6: Create a straight side profile. Check the side view frequently. The new extension should continue the line of the finger rather than dipping down. Use a fine brush to pull the product into a straight line. Avoid over-building at the free edge.
Step 7: Cure or harden fully. Follow the product instructions. For gel, cure under a compatible lamp. For acrylic, allow it to harden completely.
Step 8: File and refine. Remove the form. File the sidewalls and surface to create a balanced shape. Check the side profile again. If the nail still hooks slightly, do not force it. Leave the correction for the next fill. Over-filing the natural nail or the product can weaken the structure.
Step 9: Finish and seal. Apply a top coat or color. Cap the free edge. Apply cuticle oil.
Which Gel Product to Use for a Fill
For correcting hooked nails, a medium-viscosity builder gel or a hard gel is usually the best choice. These products hold their shape and provide structural support. A soft gel polish alone is too flexible and will follow the natural hook. Polygel can also work because it is strong and moldable, but it requires careful shaping.
Choose a product that cures fully under your lamp and that you are trained to use. Do not mix brands unless the manufacturer says it is compatible. A medium-viscosity builder gel is easier to control than a very runny gel. It allows you to build an apex and create a straight side profile without the product pooling.
Mistakes That Make Hooked Nails Worse
Forcing the nail flat in one session. This puts stress on the nail bed and causes lifting. Correction should be gradual.
Building too much product at the free edge. A heavy tip pulls the nail downward and exaggerates the hook.
Placing the apex too far back. The apex should support the stress point. If it is misplaced, the nail will curve downward under pressure.
Using only soft gel polish. It is too flexible to correct structure. Use builder gel or hard gel.
Over-filing the natural nail. This weakens the nail and makes future correction harder.
Incorrect form placement. If the form follows the hook, the new extension will hook too. Place the form to encourage a straighter line.
Skipping side-profile checks. Always look from the side during application. The front view can hide a hook.
Applying to an infected or damaged nail. Do not correct a nail that is painful, red, swollen, or damaged. Refer the client to a doctor.
Aftercare for Corrected Hooked Nails
After correction, the nail needs support and protection. Apply cuticle oil daily to keep the natural nail flexible. Wear gloves for dishwashing and cleaning. Avoid using the nails as tools. Do not pick or peel the enhancement. Schedule fills every two to three weeks so the correction can be maintained and gradually improved. Check the side profile at each fill and adjust the structure as needed. If the nail becomes painful or lifts, have it checked by a professional. With consistent, gentle correction, the nail can grow into a straighter, more balanced shape over time.
Read also: Soft Nails: Causes, Treatments, and How to Strengthen Them Naturally